Build an OIDC provider with rodauth-oauth in rails, while keeping your authentication
08 Sep 2021I’ve written before about rodauth-oauth and how to use it to make an OAuth2 or OIDC Connect provider out of a rails application, and where I built a rails demo app based out of Janko Mahronic’s rodauth-rails demo app as a workable tutorial. It shows well what rodauth accomplishes, how integrating it in a rails app became significantly simpler thanks to rodauth-rails, and how one can building an OAuth/OIDC provider using rodauth-oauth on top of that.
Recently, I got asked by a former co-worker what do I suggest for building an OAuth provider in a rails app. I suggested rodauth-oauth. “But we already have our own authentication. Doesn’t rodauth-oauth require that authentication is handled by rodauth?”.
I said “no, it does not, it just requires a few undocumented tweaks”. And then I realized that it’s not that obvious for anyone not familiar with the toolchain how this would get done, and how much of a barrier for adoption that is. A lot of Rails deployments rely on devise or something else based on warden for authentication, and while it’s certainly reasonable to “sell” rodauth as a much better alternative to consider, buying into rodauth-oauth shouldn’t ideally have to require a whole rewrite of the authentication system.
So if you’d like to try rodauth-oauth for OAuth and keep your authentication logic, this tutorial is for you.
1. Rails and Devise sitting in a tree
The first is having an example rails app to work with. In order to do so, I’ll follow what Janko used in his first rodauth post and use his blog bootstrapper example:
$ git clone https://gitlab.com/janko-m/rails_bootstrap_starter.git rodauth-oauth-devise-demo
$ cd rodauth-oauth-devise-demo
$ bin/setup
(This part was easier said than done. I have very little experience with webpacker, but it seems that everytime I need it, running a command will always seem to fail and send me in a journey searching for workarounds in google. This one landed here, where I found out that latest-greatest webpack isn’t compatible with webpacker. Always something…)
Now, I will use devise for this tutorial.
(NOTE: I know there are other alternatives, but devise provides me with a “quick to prototype” bootstrap experience for this demo, while the tweaks can apply to any other framework):
> bundle add devise
And run its initializers:
> bundle exec rails generate devise:install # adds initializers, configs...
> bundle exec rails generate devise User # creates the user model and migrations
NOTE: make sure to uncoment the section in the migrations file generated by devise referring to the :trackable plugin, and enable it in the model as well:
# in the migration file
## Trackable
t.integer  :sign_in_count, default: 0, null: false
t.datetime :current_sign_in_at
t.datetime :last_sign_in_at
t.string   :current_sign_in_ip
t.string   :last_sign_in_ip

# in the User model
devise :database_authenticatable,
        # ...
        :trackable
> bundle exec rails db:migrate
Now let’s add some useful links in the navbar:
<!-- app/views/application/_navbar.html.erb -->
<!-- ... --->
<% if user_signed_in? %>
  <div class="dropdown">
    <%= link_to current_user.email, "#", class: "btn btn-info dropdown-toggle", data: { toggle: "dropdown" } %>
    <div class="dropdown-menu dropdown-menu-right">
      <%= link_to "Change password", edit_user_password_path, class: "dropdown-item" %>
      <div class="dropdown-divider"></div>
      <%= link_to "Sign out", destroy_user_session_path, method: :delete, class: "dropdown-item" %>
    </div>
  </div>
<% else %>
  <div>
    <%= link_to "Sign in", new_user_session_path, class: "btn btn-outline-primary" %>
    <%= link_to "Sign up", new_user_registration_path, class: "btn btn-success" %>
  </div>
<% end %>
<!-- ... --->
And lock the posts section for authenticated users:
class PostsController < ApplicationController
  before_action :authenticate_user!
  # ...
And that’s it, we’re set!
2. Install rodauth-rails (but not use it for authentication) and rodauth-oauth
Installing is accomplished simply by doing:
> bundle add rodauth-rails
> bundle add rodauth-oauth
First thing we do is to run rodauth-rails main initializers:
> bundle exec rails generate rodauth:install
      create  db/migrate/20210906132849_create_rodauth.rb
      create  config/initializers/rodauth.rb
      create  config/initializers/sequel.rb
      create  app/lib/rodauth_app.rb
      create  app/controllers/rodauth_controller.rb
      create  app/models/account.rb
      create  app/mailers/rodauth_mailer.rb
      create  app/views/rodauth_mailer/email_auth.text.erb
      create  app/views/rodauth_mailer/password_changed.text.erb
      create  app/views/rodauth_mailer/reset_password.text.erb
      create  app/views/rodauth_mailer/unlock_account.text.erb
      create  app/views/rodauth_mailer/verify_account.text.erb
      create  app/views/rodauth_mailer/verify_login_change.text.erb
As you can see from the output above, rodauth-rails expects that you’ll start using rodauth for authentication. There are a few switches, such as --json or --jwt, but they’re not very useful for our use-case, which is “just initializers please”.
So now it’s time to delete things :) Let’s start by removing the files we won’t need:
> rm -rf app/views/rodauth_mailer/
> rm app/mailers/rodauth_mailer.rb app/models/account.rb db/migrate/20210906132849_create_rodauth.rb
And then update the auto-generated config files:
# lib/rodauth_app.rb
class RodauthApp < Rodauth::Rails::App
  configure do
    # List of authentication features that are loaded.
-    enable :create_account, :verify_account, :verify_account_grace_period,
-      :login, :logout, :remember,
-      :reset_password, :change_password, :change_password_notify,
-      :change_login, :verify_login_change,
-      :close_account
+    enable :base
  # ... delete every other default option
+    accounts_table :users
  end

  route do |r|
-    rodauth.load_memory # only useful for auth-driven rodauth
-
     r.rodauth # route rodauth requests
And now it’s time to auto-generate rodauth-oauth files:
> bundle exec rails generate rodauth:oauth:install
      create  db/migrate/20210906134332_create_rodauth_oauth.rb
      create  app/models/oauth_application.rb
      create  app/models/oauth_grant.rb
      create  app/models/oauth_token.rb


> bundle exec rails generate rodauth:oauth:views --all
      create  app/views/rodauth/authorize.html.erb
      create  app/views/rodauth/oauth_applications.html.erb
      create  app/views/rodauth/oauth_application.html.erb
      create  app/views/rodauth/new_oauth_application.html.erb
Some changes will be required here as well before running the migrations, given that devise created a users table, not an accounts table like rodauth would have:
# db/migrate/20210906134332_create_rodauth_oauth.rb
     create_table :oauth_applications do |t|
       t.integer :account_id
-      t.foreign_key :accounts, column: :account_id
+      t.foreign_key :users, column: :account_id
# ...
     create_table :oauth_grants do |t|
       t.integer :account_id
-      t.foreign_key :accounts, column: :account_id
+      t.foreign_key :users, column: :account_id
# ...
And now you’re good to go. Run the migrations:
> bundle exec rails db:migrate
And enable the respective rodauth-oauth plugins:
# lib/rodauth_app.rb

# Declare public and private keys with which to verify the id_token
# PRIV_KEY = OpenSSL::PKey::RSA.new(File.read("path/to/privkey.pem"))
# PUB_KEY = OpenSSL::PKey::RSA.new(File.read("path/to/pubkey.pem"))

enable :oidc, :oidc_dynamic_client_registration, :oauth_application_management

# list of OIDC and OAuth scopes you handle
oauth_application_scopes %w[openid email profile posts.read]


# so helpers return model instances in rails, such as rodauth.current_oauth_account
oauth_account_ds { |id| User.where(account_id_column => id) }
oauth_application_ds { |id| OAuthApplication.where(oauth_applications_id_column => id) }

# by default you're only allowed to use https redirect URIs. But we're developing,
# so it's fine.
if Rails.env.development?
  oauth_valid_uri_schemes %w[http https]
end

oauth_jwt_keys("RS256" => PRIV_KEY)
oauth_jwt_public_keys("RS256" => PUB_KEY)

# this callback is executed when gathering OIDC claims to build the
# ID token with.
# You should return the values for each of these claims.
#
# This callback is called in a loop for all available claims, so make sure
# you memoize access to to the database models to avoid the same query
# multiple times.
get_oidc_param do |account, param|
  @user ||= User.find_by(id: account[:id])
  case param
  when :email
    @user.email
  when :email_verified
    true
  when :name
    @user.name
  end
end
# ...
route do |r|
  r.rodauth # route rodauth requests
  rodauth.load_oauth_application_management_routes
  rodauth.load_openid_configuration_route
  rodauth.load_webfinger_route
end

# app/models/user.rb
class User < ApplicationRecord

  # dirty hack, so that user has a name.
  def name
    email.split("@").first # "john.doe@example.com" -> "John Doe"
  end
  # ...
<!-- app/views/application/_navbar.html.erb -->
<!-- ... --->
         <li class="nav-item">
           <%= link_to "Posts", posts_path, class: "nav-link" %>
         </li>
+        <% if user_signed_in? %>
+          <li class="nav-item <%= "active" unless current_page?(rodauth.oauth_applications_path) %>">
+            <%= link_to_unless_current "Client Applications", rodauth.oauth_applications_path, class: "nav-link" %>
+          </li>
+        <% end %>
Now, let’s add some seed data we can test things with, such as a test user account:
# db/seed.rb
User.create!(email: "john.doe@example.com", password: "password")
10.times do |i|
  Post.create!(user: user, title: "Post #{i}", body: "a story about post #{i}")
end
> bundle exec rails db:seed
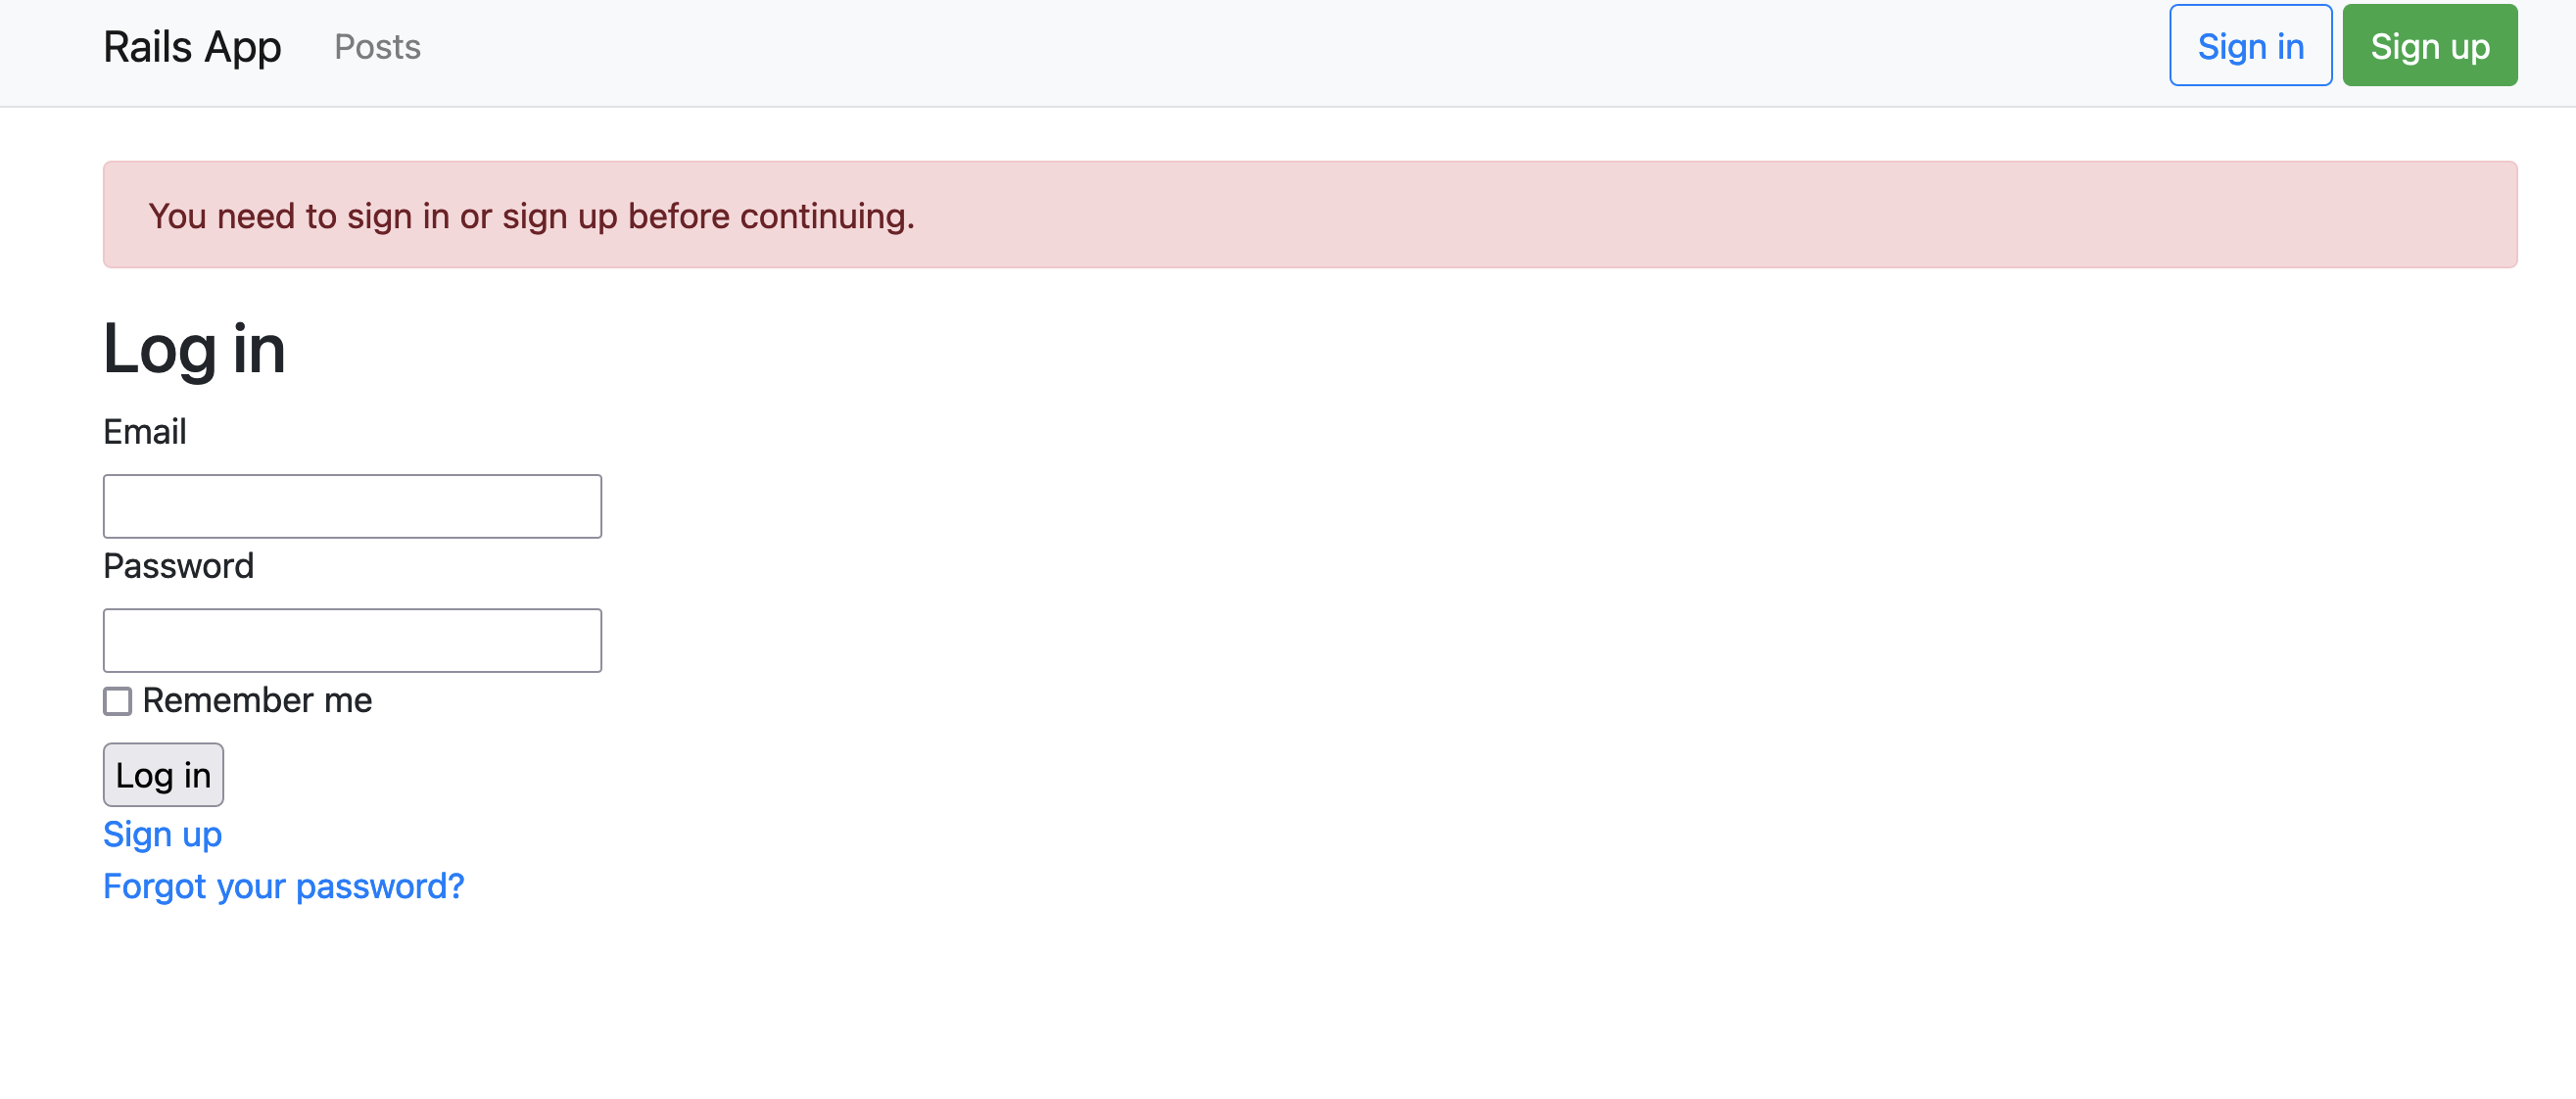
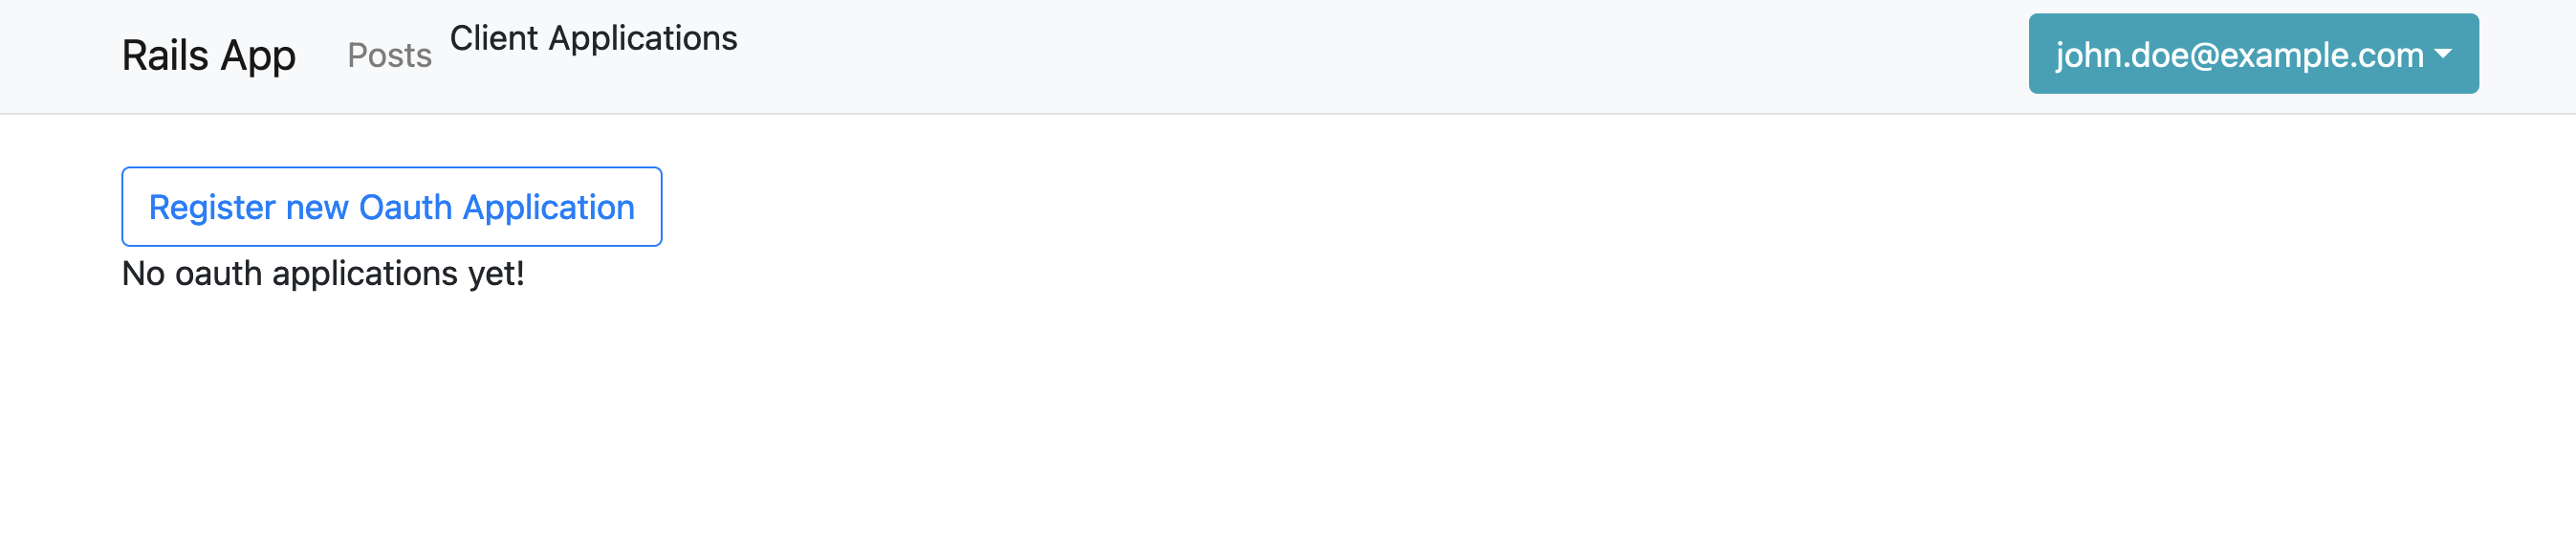
Now we should be able to start registering our first OAuth application.
Ok, now let’s add a new OAuth Application.

And here’s it is: rodauth-oauth couldn’t recognize the user is logged in. This is where we’ll start tweaking the configuration.
4. User is account
The main thing here to stress out is that the default configuration is tailored for rodauth. However, it’s highly configurable! The first thing was already done, namely defined accounts_table as the :users table where devise writes. Now we have to tell rodauth when the user is logged in. We do that by adding the following set of custom configs:
# lib/rodauth_app.rb

  configure do
    # ... after everything else...

    # to tell rodauth where to redirect if user is not logged in
    require_login_redirect { "/users/sign_in" }

    # reuse devise controller helper
    logged_in? { rails_controller_instance.user_signed_in? }

    # tell rodauth where to get the user ID from devise's session cookie
    session_value do
      rails_controller_instance.session
        .fetch("warden.user.user.key", [])
        .dig(0, 0) || super()
    end

    # used by the oidc plugin to get the "auth_time" claim
    get_oidc_account_last_login_at { |user_id| User.find(user_id).last_sign_in_at }
    # ...
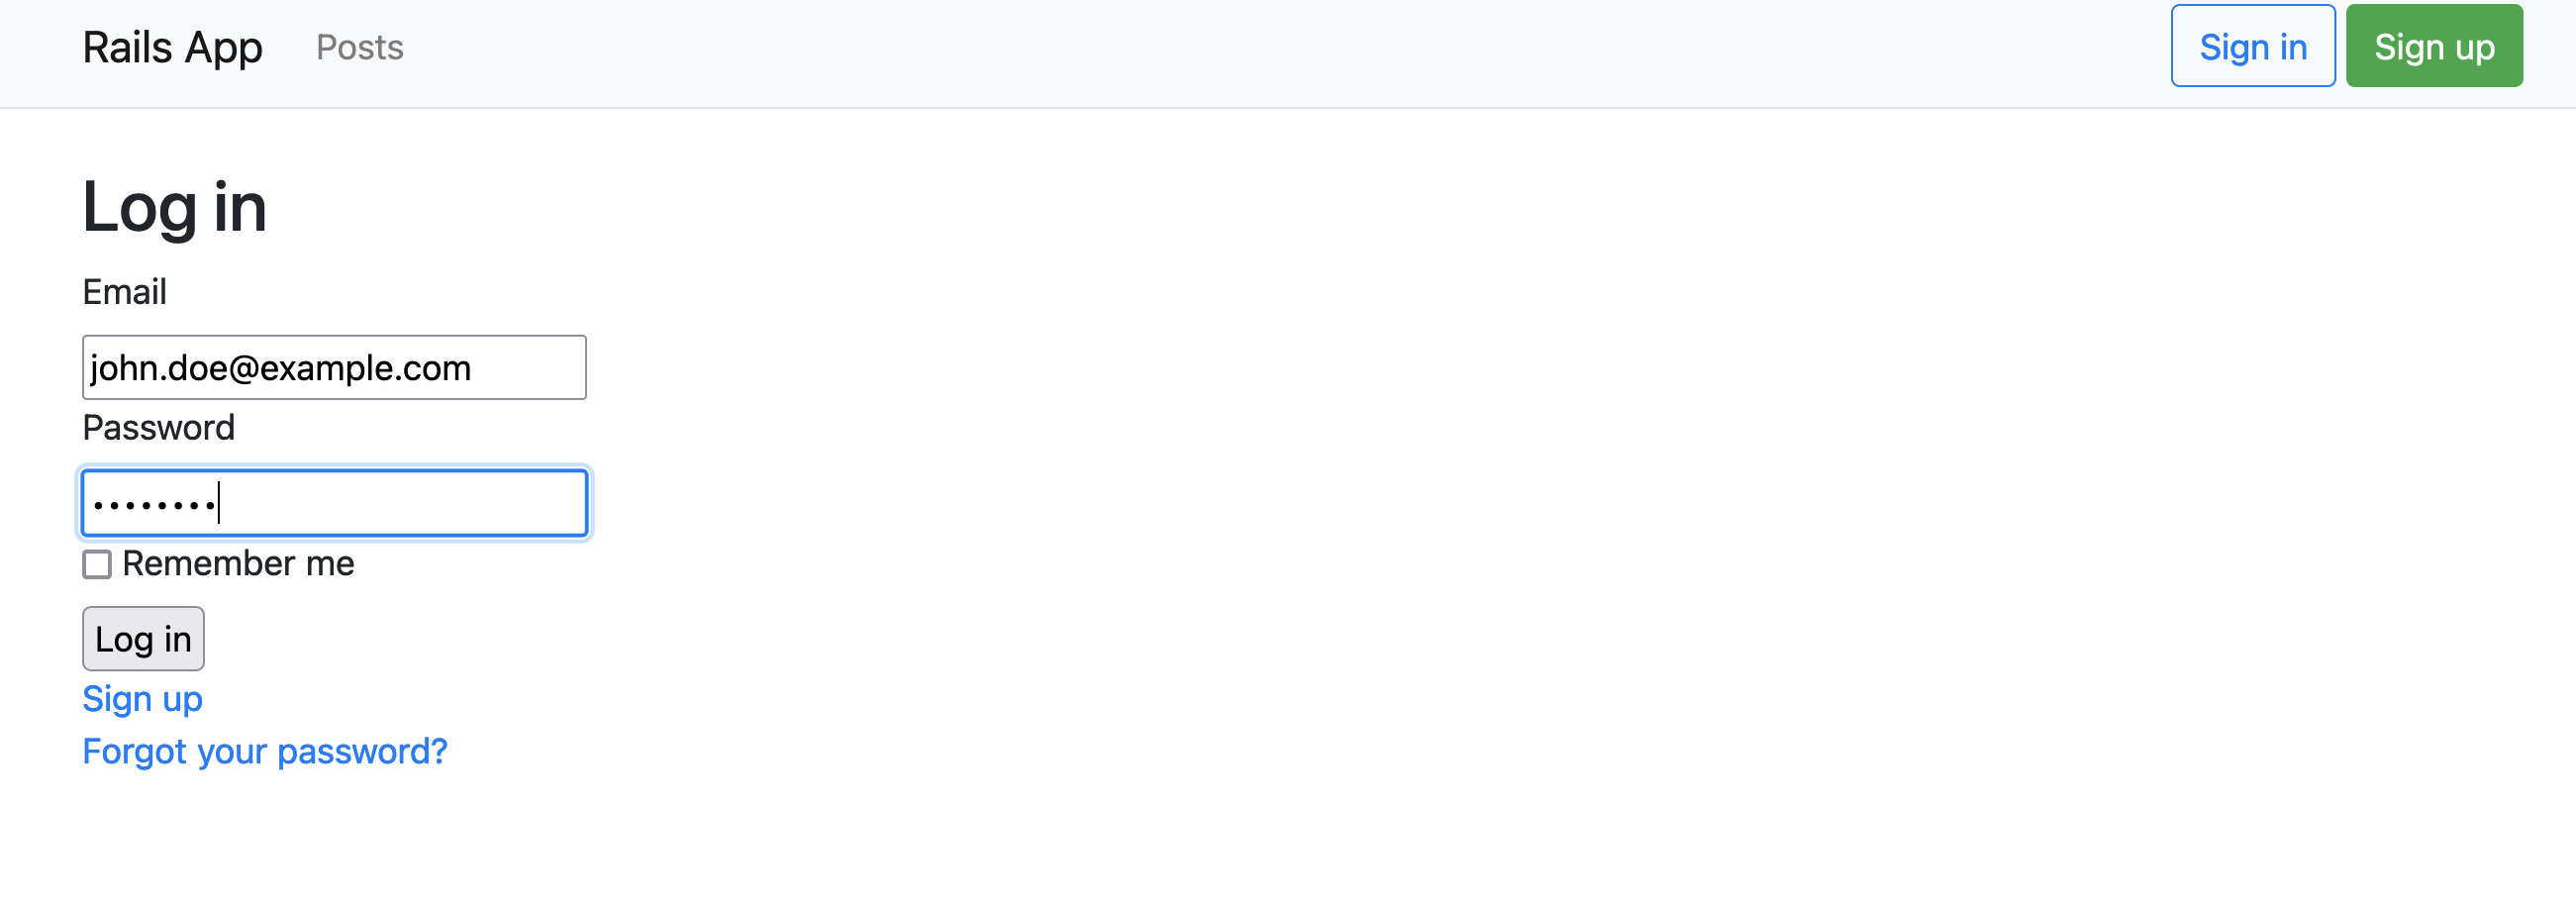
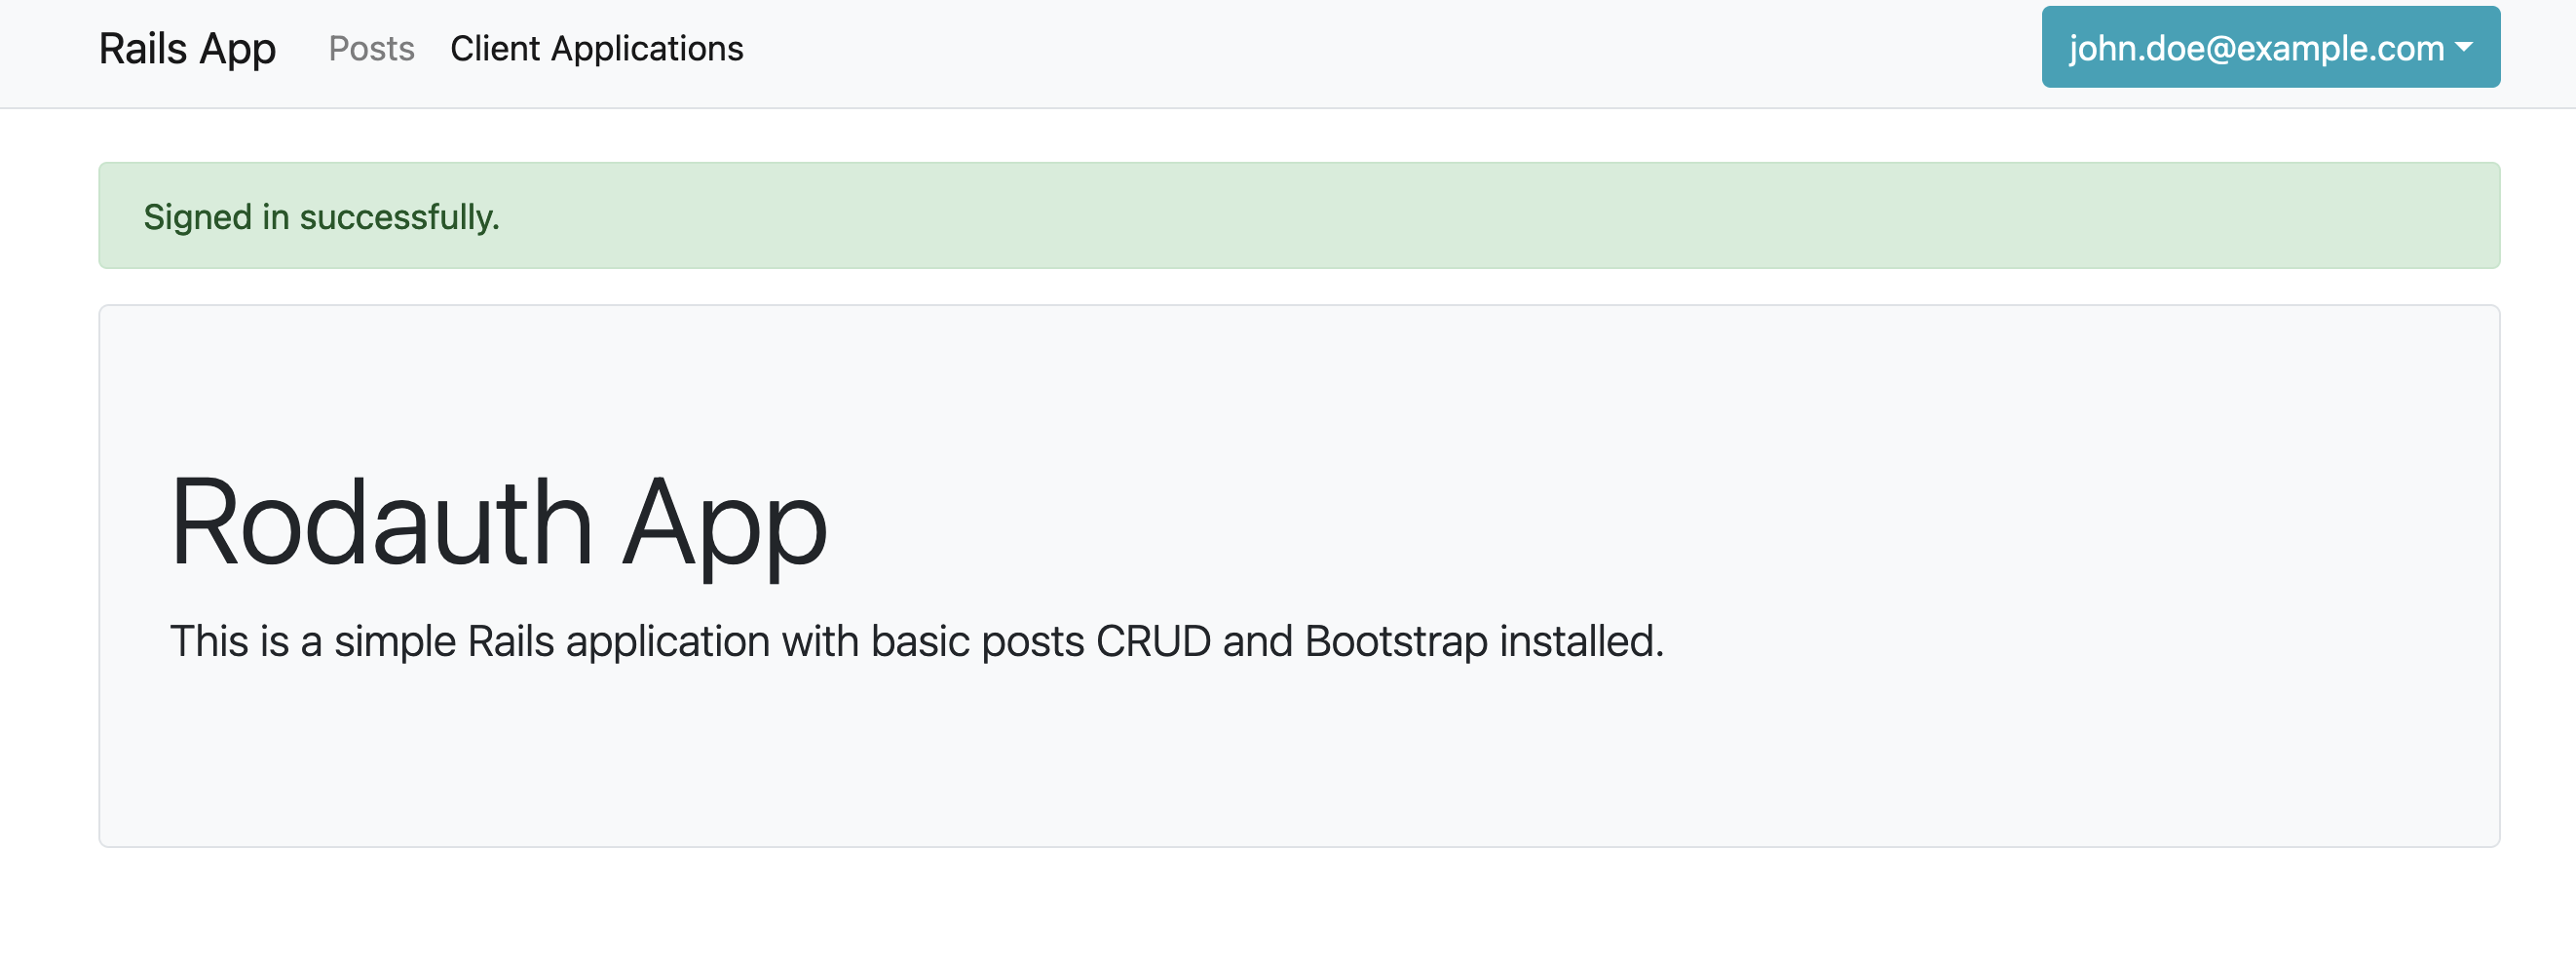
Long story short, we hoist a couple of calls expecting a rodauth cookie session being defined, to determine whether user is logged in and which user that is, and we “route” those to devise entities (i.e. that "warden.user.user.key" cookie, which is where devise puts the user ID). And once we do that:
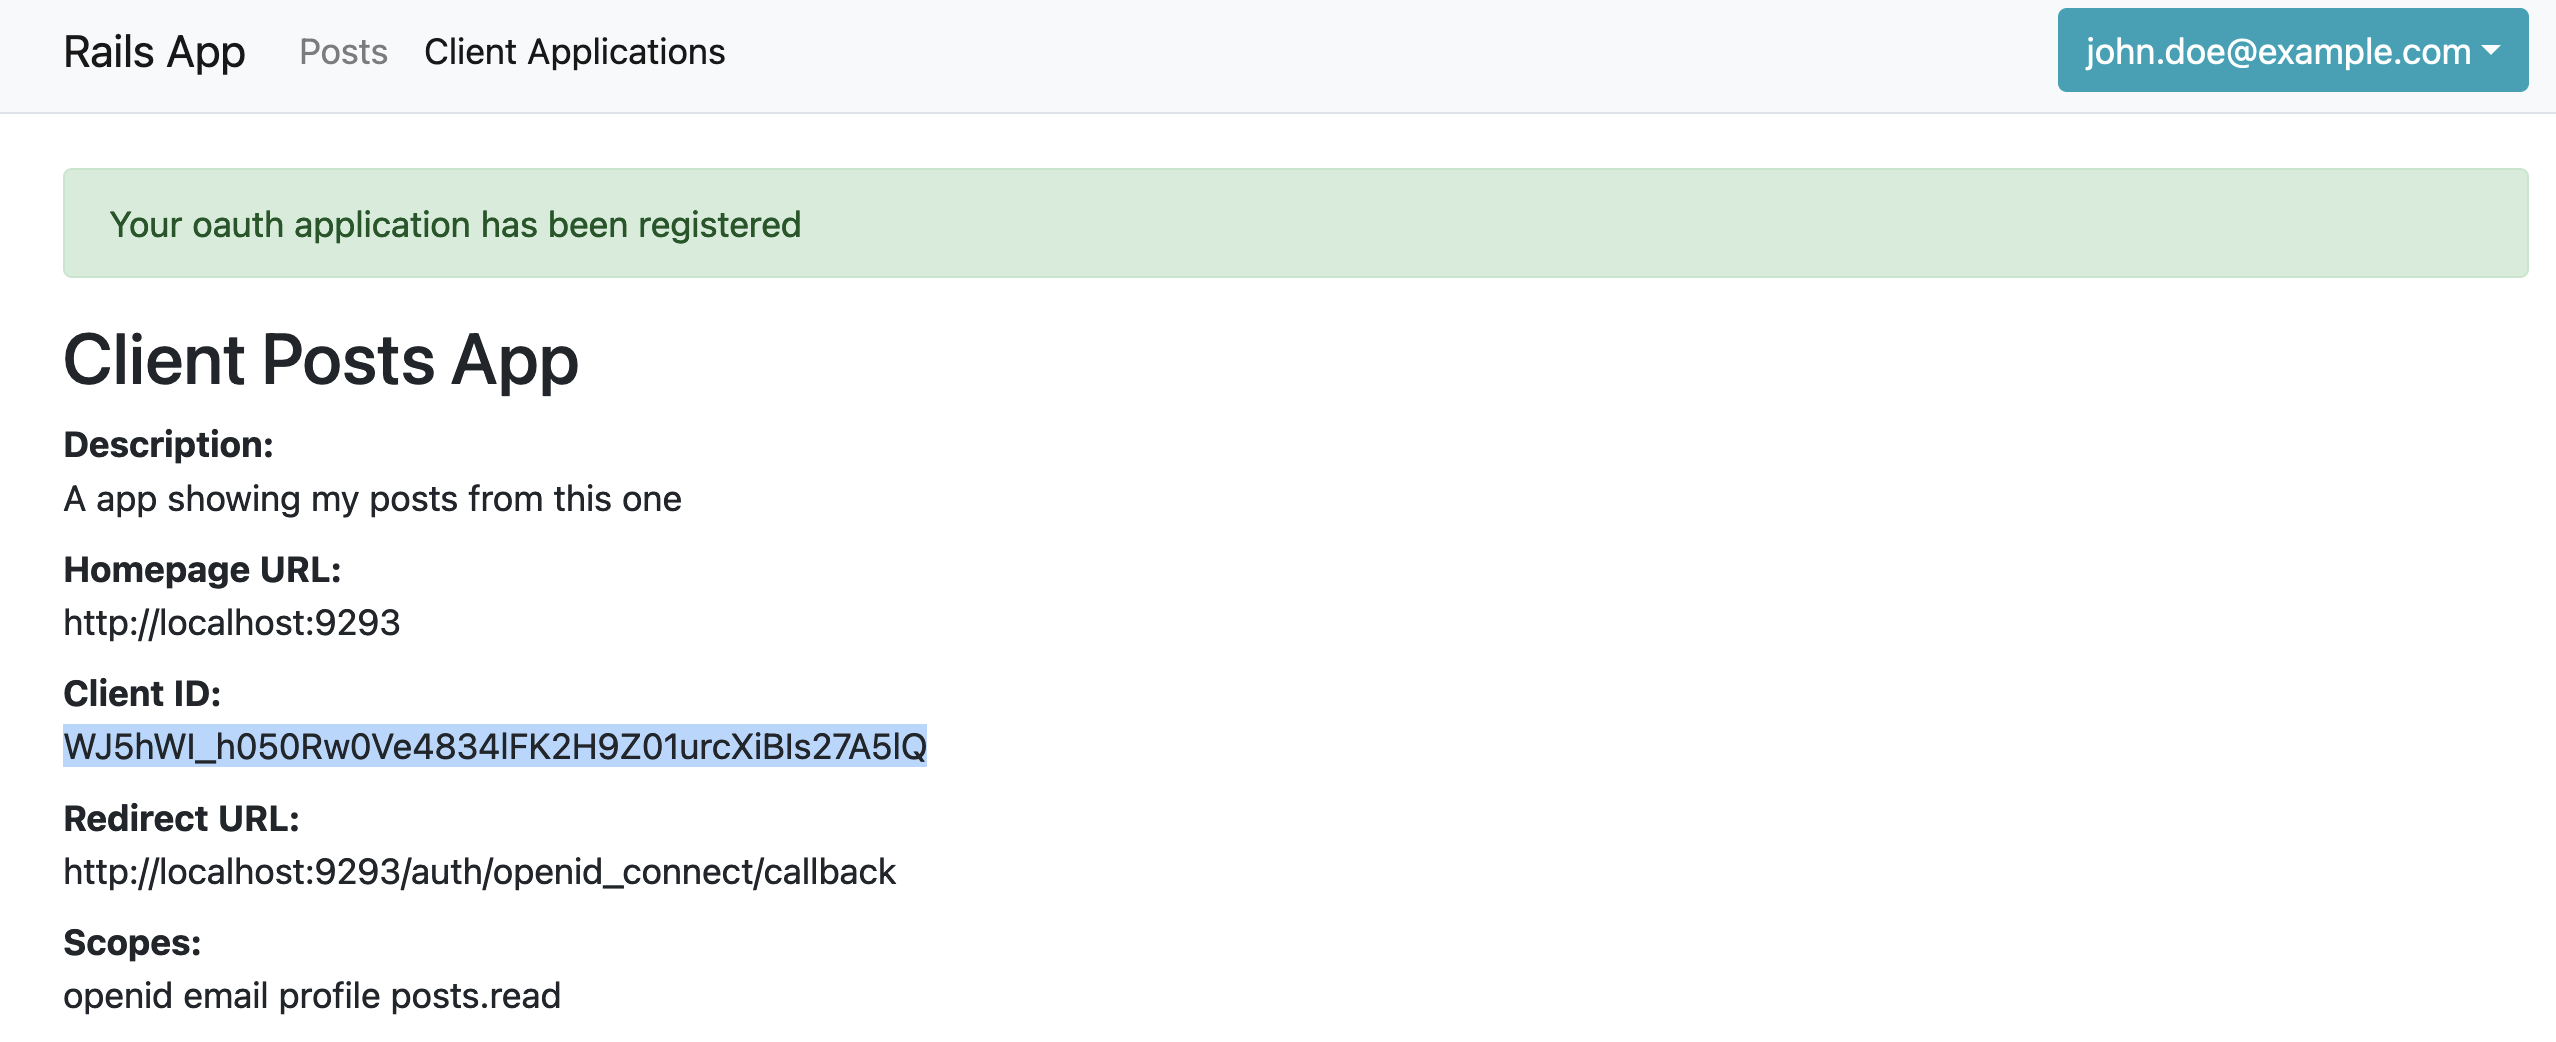
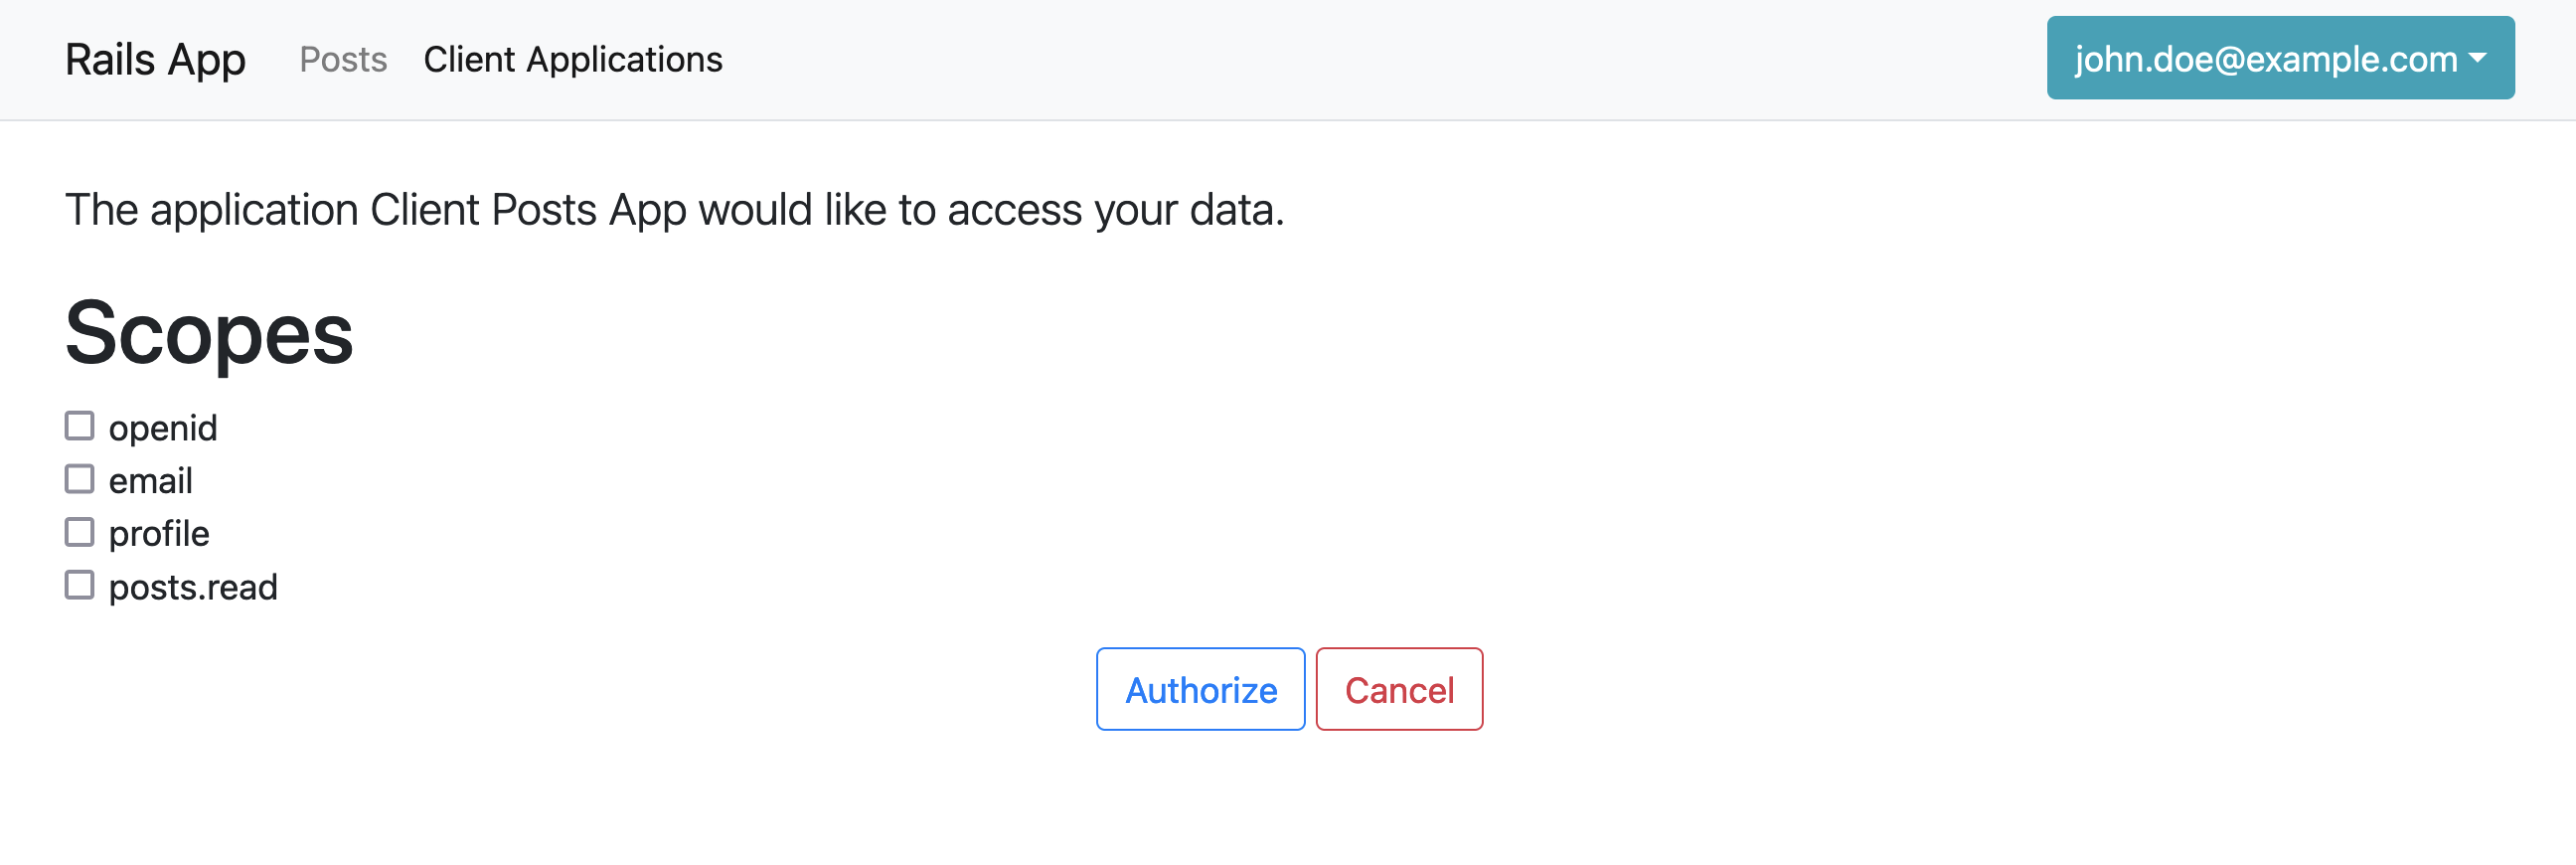
Et Voilà, applications section unlocked. After filling up the form exactly in the same way that was described in the previous blog post, I end up with the OAuth application we’ll use for the following steps:
5. Business as usual
Now it’s time to hook our client application. For this purpose, we’ll do the same as described in the previous rodauth-oauth post, and reuse the same OIDC client application, a single-file single-page app listing some books, fetched via an API request authorized via the ID token.
The same tweaks described there are applied, and the following script is ran for it:
> export RESOURCE_SERVER_URI=http://localhost:3000/posts
> export AUTHORIZATION_SERVER_URI=http://localhost:3000
> export CLIENT_ID=WJ5hWI_h050Rw0Ve4834lFK2H9Z01urcXiBIs27A5lQ
> export CLIENT_SECRET=owxhtwsruvcltsvhycamoqnmulvfqgdjgpdxappjgywamwnrqdkwpgdlqbonegdo
> bundle exec ruby scripts/client_application.rb
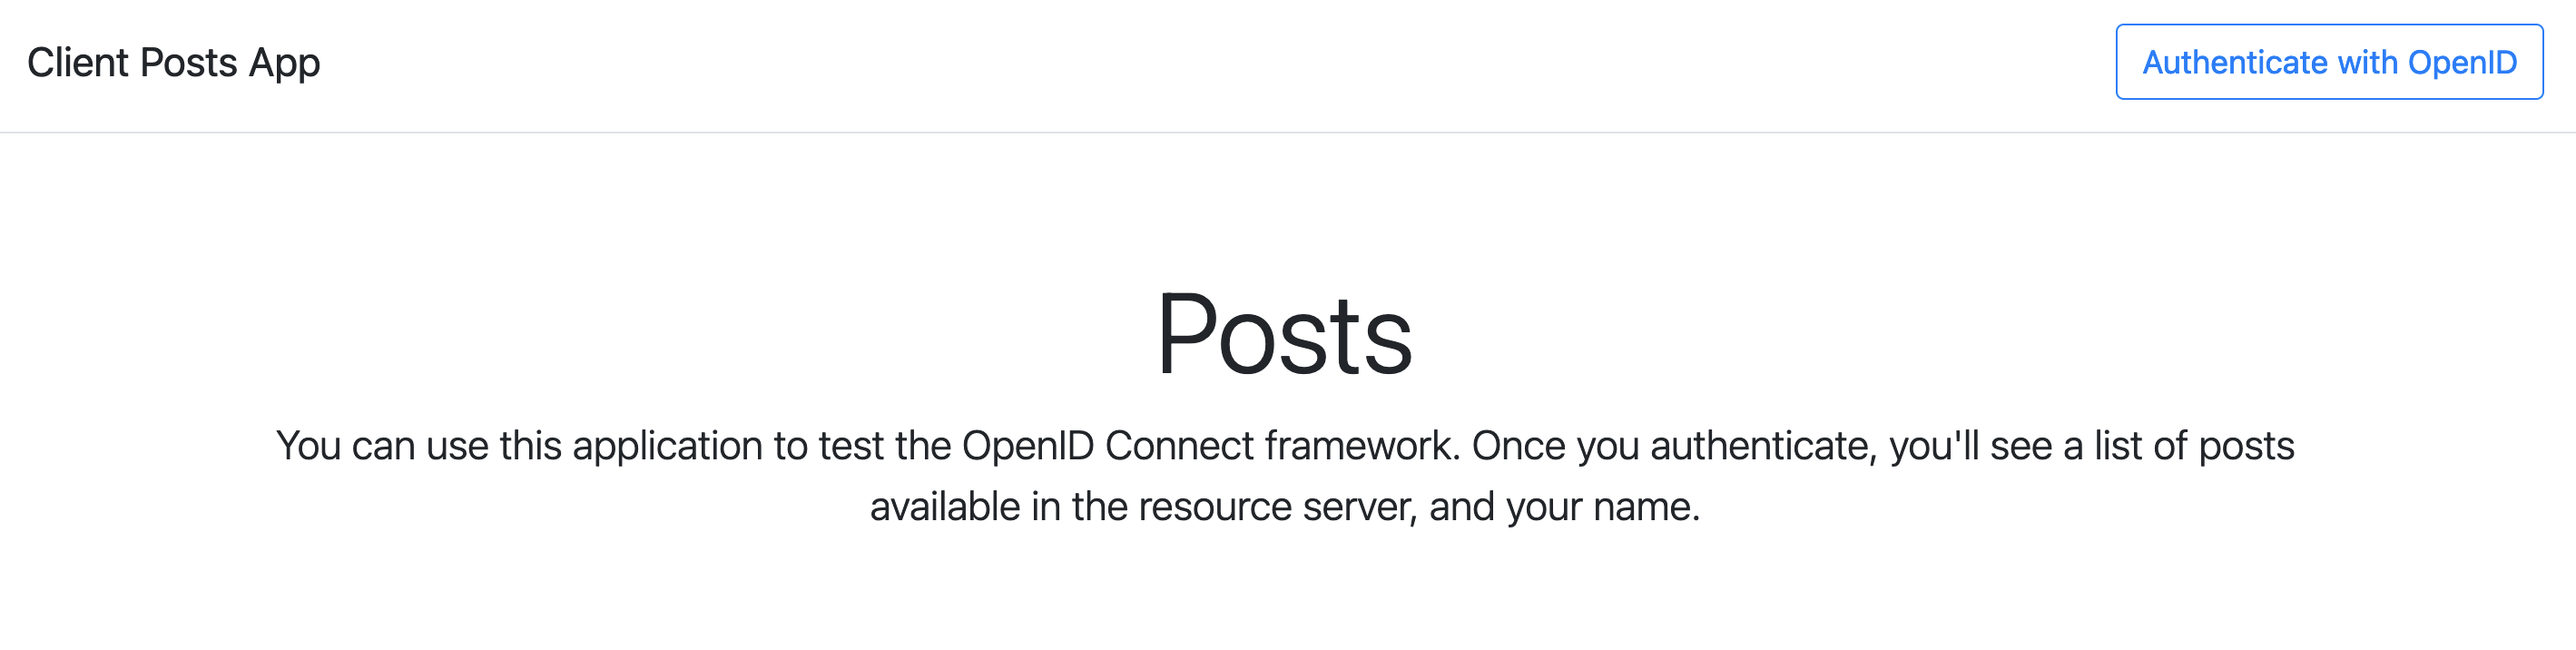
And here we go:

The problem here is that access to posts controller is protected via the authenticate_user! before action from devise. After the OIDC authentication however, requests are authenticated via ID token, which devise doesn’t know about. It’s up to you now to provide a new set of before actions, or override the existing ones. For the sake of completeness, I’m going with the latter, but just bear in mind there are other ways to accomplish this.
# app/controllers/application_controller.rb
class ApplicationController < ActionController::Base
  def authenticate_user!
    rodauth.session_value || super
  end
end

# app/controller/posts_controller.rb
class PostsController < ApplicationController
  # expose via authorization header with bearer token
  before_action :authenticate_user!, except: [:index, :show]

  def index
    account = current_user || current_oauth_account
    @posts = account.posts.all
    # ...
  end

  private

  def require_read_access
    return require_authentication unless request.authorization && request.authorization.start_with?("Bearer")

    rodauth.require_oauth_authorization("posts.read")
  end
end
Now let’s do this again:

Success!
6. Conclusion
As the article proves, it is possible to use rodauth-oauth without actually using rodauth for authentication, with a few tweaks to the configuration. devise was used for demonstration purposes, but the same lessons can be replicated for any other authentication library (sorcery, warden-rails, plain warden…).
It’s now up to the user to decide whether these tweaks are worth it, compared to the alternative frameworks for OAuth or OIDC.
And who knows, maybe you’ll like rodauth’s approach so much so that you’ll start migrating your authentication system to it :) .
You can find the demo app under this gitlab repository.